Description
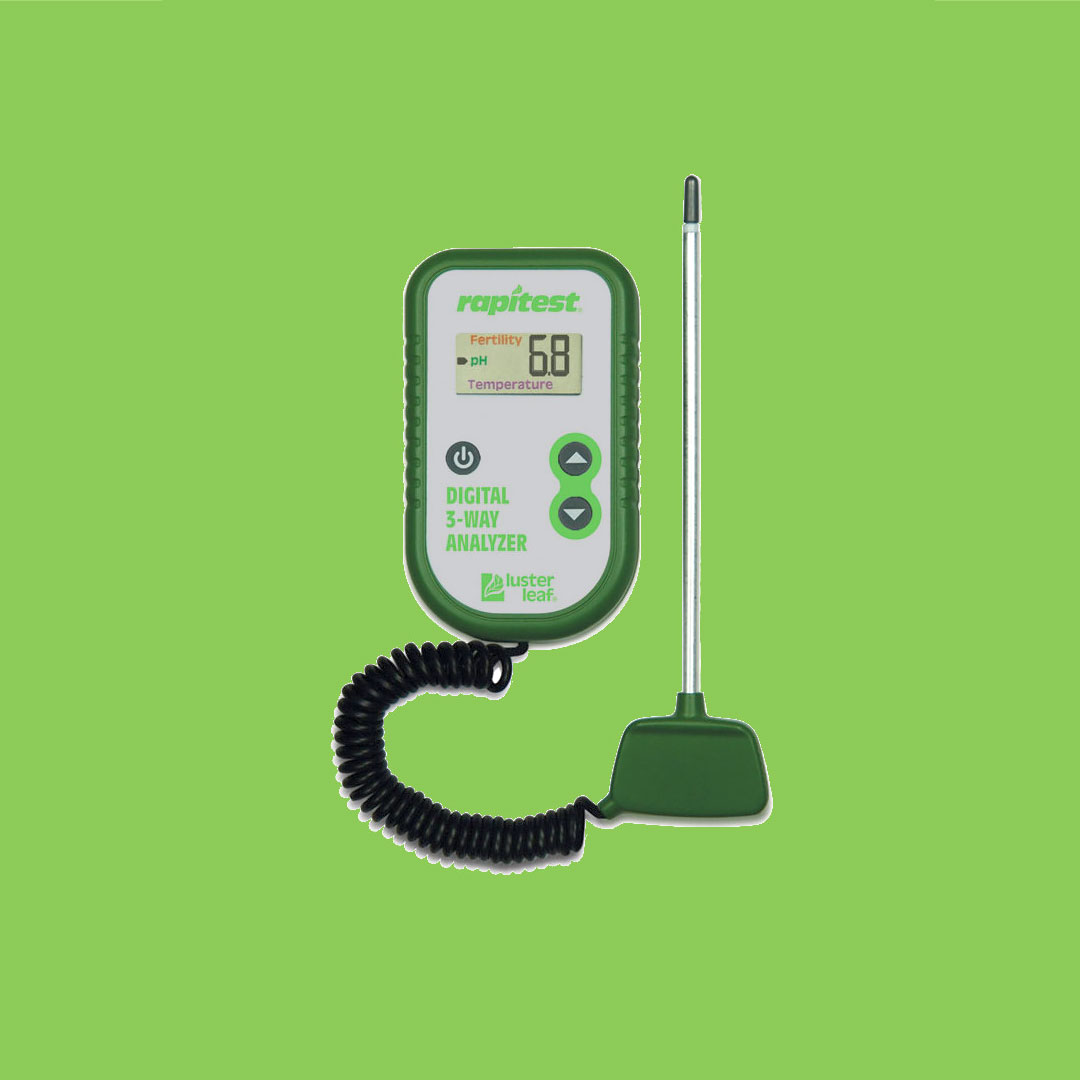
Lusterleaf Rapitest 1835 electronic soil meter for pH, fertilization and temperature
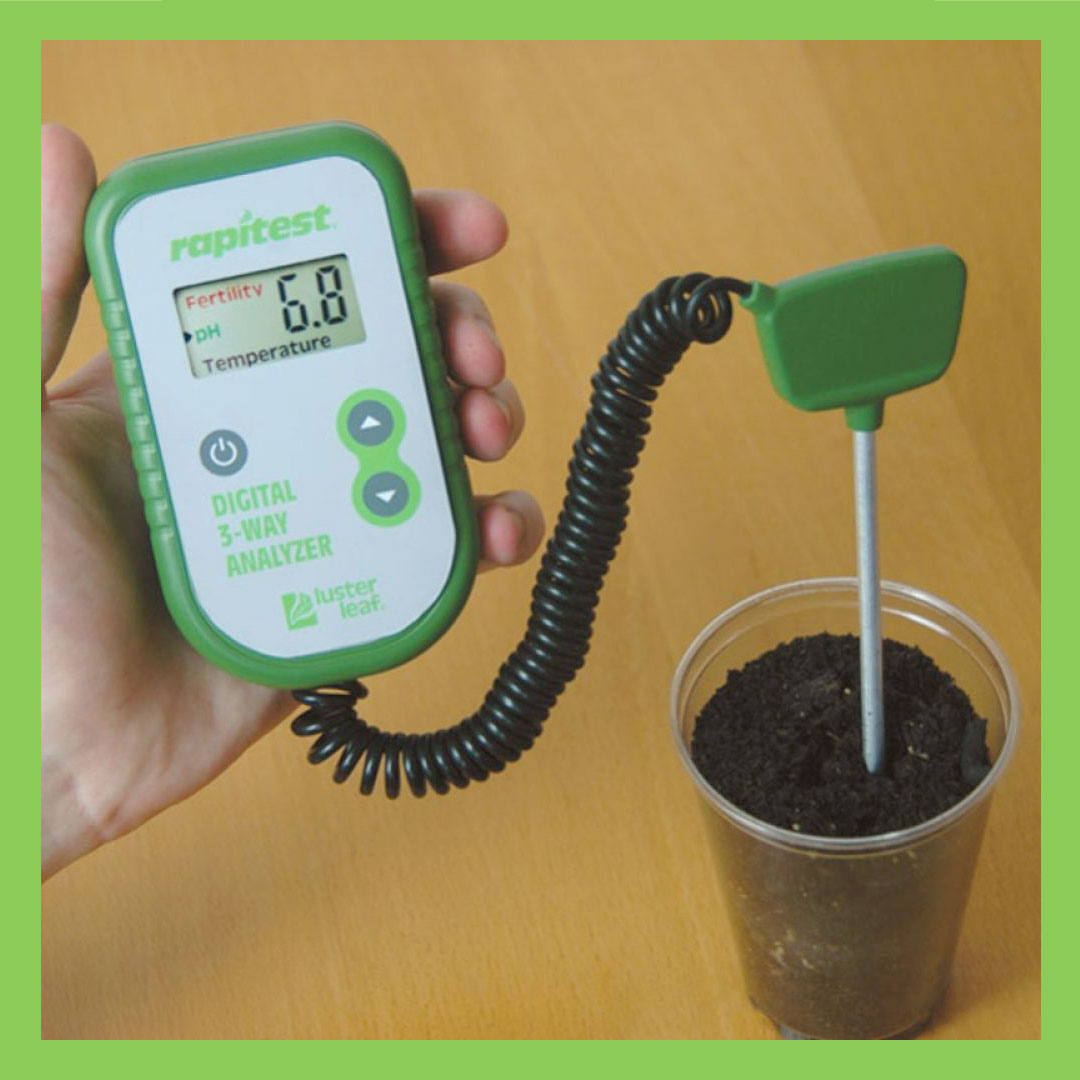
This electronic soil meter allows you to quickly and easily measure the acidity (pH), temperature and fertilization level of your soil. Insert the probe into the ground and immediately read the results digitally. We can't make it any easier. The information obtained makes it possible for your plants to grow and flower optimally. No more guessing about the optimal conditions for your soil. This meter combines the most important functions to be able to make a good soil analysis. The pH function measures the acidity of the soil. The temperature function indicates whether the soil is at the right temperature for sowing/planting. The fertilization function measures the combined levels of Nitrogen (N), Phosphorus (P) and Potassium (K) to determine the fertilization rate of the soil.
INSTRUCTIONS FOR USE RAPITEST 1835 3-WAY ANALYZER
This manual covers all functions of the device and will help you determine the right temperature, pH and fertilizer level for the plants you want to care for optimally.
Measuring directly into the ground usually gives a good result. However, for best results, it is recommended that you follow the directions below.
Important tips:
-Only for use in the ground, never use in liquids!
-Only measure when the soil is well wet. Preferably 30 minutes after watering or after a heavy rain shower.
-Always press the ground around the probe firmly with your fingers against the probe.
-Make sure to always measure in free ground without roots and other (organic) obstacles.
-With every measurement, first wipe the measuring pin, including the tip, well with a scouring pad and clean it with a dry cloth.
-Wait 1 minute for each measurement before reading the result.
Preparation for testing the soil.
If you are preparing to plant or sow a bed with plants, shrubs, vegetables, fruit or grass, it is useful to test the soil in a number of places in that spot beforehand for the temperature, fertilization level and the pH value. It is also important to know if the pH level of the soil is within the range of the plant. You can easily look up that range for your plant on the internet.
Basic instructions
Step 1. Press the on/off button to turn the meter on and off.
Step 2. Press the arrow buttons to change the test function.
Step 3. The test function used is indicated by the flashing arrow in the screen.
Step 4. If the measuring device is not in operation, it switches itself off after approx. 4 min.
How do you measure the pH value?
Step 1. First remove the top 5 cm of the soil and crush soil clumps to a depth of 12 cm. Remove pebbles or other organic objects such as leaves and branches as this can affect the final result.
Step 2. Add plenty of water (ideally distilled water) to give the soil a firm and compact structure.
Step 3. Firmly compact the wet soil to compact the soil well.
Step 4. Clean and shine the probe, including the tip, with the supplied sponge. Wipe the probe with a cotton ball or cloth. Always clean from bottom to top towards the handle.
Step 5. Use the arrow keys to move the indicator arrow on the screen to “pH”.
Step 6. Now perform the first measurement: insert the probe straight (vertical) into the moistened soil to a depth of 10 – 12 cm. If the probe is not easy to press into the ground, select a new position. Never use force! Rotate the probe clockwise and counterclockwise several times
clockwise and counterclockwise between your fingers to ensure that the muddy soil is evenly distributed over the surface of the Sonde. Wait 60 seconds until the result in the display no longer changes and note the pH value. Now pull the probe out of the ground.
Step 7. Never skip this last step!
Determine on the basis of the result of this first measurement (= the initial value) how you should measure again.
A. When the initial value is pH 7 or higher. First, wipe all debris from the surface of the probe. Clean the probe again with the sponge and cloth as described above and take a new measurement near the hole where you took the first measurement (do not reuse the first hole!) Rotate the probe 2 or 3 times between your fingers as with the first measurement and wait 60 seconds before reading the result of this measurement.
B. If the initial value is less than pH 7. First, wipe all debris from the surface of the probe.
The probe should not be cleaned with the scouring pad and cloth at this point. Place the probe back in the soil in a different location, avoiding the hole from the first measurement. Rotate the probe between your fingers 2 or 3 times as with the first measurement and wait 60 seconds before reading the result of this measurement.
For an even more accurate result when measuring pH, follow the procedure below. Remove the soil sample to be examined from the soil and prepare the soil sample by crushing the soil well with your fingers and removing obstacles such as pebbles and organic residues. Fill 2 cups with soil from the soil sample. Now first fill a clean glass or plastic container with 2 cups of distilled water and now add the 2 cups with soil sample. Make sure the soil and water mix well and press down firmly. Drain excess water.
Now follow the steps from step 4. as described above.
Adding Lime to Raise the pH
Lime can be added at any time of the year, but it takes time to show the effect. Therefore, autumn, winter and early spring are the preferred times to add lime. The two main types of lime are ground limestone and hydrated lime. Ground limestone works slower, but is more pleasant to use. Hydrated lime works after 2 – 3 months. This takes up to 6 months with ground chalk or limestone. Don't expect an exact pH correction, but rather a global improvement. Do not add lime at the same time as ammonia sulphate, superphosphate, or animal manure. The addition of lime can be combined with potassium sulphate. The presence of lime also stimulates the availability of nutrients for the plant. The soil should not be automatically limed because the availability of too large amounts of plant food can lead to a pH value that is too high. You should therefore always measure first and may only add lime if it appears that the pH value is clearly too low.
Benefits of lime
• Lowers acidity, raises pH.
• Binds fine particles to larger particles and promotes aeration of the soil.
• Helps to store moisture and plant food in sandy soil.
• Compensates for the addition of (acidic) fertilizers.
• The lime content of the soil sometimes influences the flower and leaf colour. Blue and red hydrangea flowers are a good example.
• Provides the available plant food with calcium.
• Provides nitrogen by stimulating the micro-organisms that help break down organic matter.
• Increases the population of earthworms.
• Protects against some diseases.
Adding chemicals and organics to lower pH
The best way to lower the pH is to add compost and/or animal manure regularly. In this way you not only gradually lower the pH, but you also promote the amount of nutrients in the soil and the moisture in the soil is better retained. Peat (with a nitrogen content of only about 4%) is also a useful soil conditioner with an acidic character. Sulfate from ammonia is a chemical treatment that helps lower the pH of the soil and also adds nitrogen. While small bacteria and microorganisms in the soil convert fresh organic matter into plant food, they also produce acids. If this process eventually leads to a (too) low pH, these organisms work less efficiently. In that case, lime is needed as a balancing and stimulant. It is wise to gradually lower the pH and then measure the effect in between. It is impossible to calculate in advance what the effect of your treatment will be and to what extent the pH will be lowered. See further above the instructions regarding adding lime.
How much should you add?
How much you need to apply depends on the structure (particle size) of the soil. Sandy soil, for example, needs less lime for an equivalent pH change than heavy clay, but does not hold the pH as long as compared to heavy clay.
Soil types
Sandy soil is a light, coarse soil and usually consists of rock decomposition material.
Loam soil is a medium-heavy soil and usually consists of a mixture of coarse (sand) particles and fine (clay) particles.
Clay soil is a heavy, difficult to penetrate soil consisting of very fine particles that are often saturated with water in winter and very dry in summer.
Fertility
Fertile soil is soil that produces sufficient crop yields and contains an abundance of organic matter or humus by incorporating plant and animal remains. This soil is well structured (not too loose and too light, not too heavy and too stiff), is well drained and has a good pH for the best possible plant growth. A fertile soil contains enough of the three main elements nitrogen, phosphorus and potassium. Finally, fertile soil also contains sufficient micronutrients such as boron, copper, iron, sulfur, magnesium and molybdenum. When measuring the fertility of the soil with this device, the present combination of the nitrogen, phosphorus and potassium content (NPK) of the soil is measured.
How to measure fertility
Step 1. First remove the top 5 cm of the soil and crush soil clumps to a depth of 12 cm. Remove pebbles or other organic objects such as leaves and branches as this can affect the final result.
Step 2. Add plenty of water (ideally distilled water) to give the soil a firm and compact structure.
Step 3. Use the arrow keys to move the indicator arrow on the screen to “fertility”.
Step 4. Clean and shine the probe, including the tip, with the supplied sponge. Wipe the probe with a cotton ball or cloth. Always clean from bottom to top towards the handle. Now insert the probe vertically into the soil until just below the handle.
Step 5. Wait for a minute and read the result.
What to do if the meter shows 0 – 2 (= too little)
Add liquid fertilizer that is suitable for your plants, according to the directions for use on the package. Also add this liquid fertilizer within 3 weeks of planting or repotting and then do this once a month while watering.
What to do when the meter reads 3 – 7 (= ideal).
Water once a month with a soluble fertilizer appropriate for your plants.
What to do if the meter shows 8 – 9 (= too much).
Pour thoroughly with plenty of water to rinse excess fertilizer from the soil on both greenhouse and potted plants. Repot the plant with new soil if it is a potted plant. Do not add fertilizer! You can add compost, clippings, plant waste, leaves and other organic matter to the soil
About measuring plants in the soil or in potting soil
Test only at the beginning or during the growing season, never outside of that. Do not test the soil on a plant that has recently been repotted as the plant is in a delicate state and needs to recover.
To measure the pH, always wet the soil thoroughly (without adding liquid fertilizer) and wait approximately 30 minutes before measuring. Always use rainwater for indoor plants. Lime in tap water is not good for some plants and can also influence the measurement of the pH value. If the measured value for potted plants does not meet the desired pH range
you need to repot the plant. Do not try to correct the pH value of the potting soil by adding a product! Note: If you have a healthy, flowering plant and one of the measured pH values does not match the pH range of your plant, you do not need to take any action. Continue to measure the pH of the soil regularly.
Maintenance
Always store the meter in a dry and frost-free place. If you are not going to use the meter for an extended period of time, remove the batteries.
